

VeraHold User Guide
This guide covers the basic functions of VeraHold: setting up your account, creating and responding to Offers, managing Active Agreements, and completing the check-in process.

Sign Up & Login
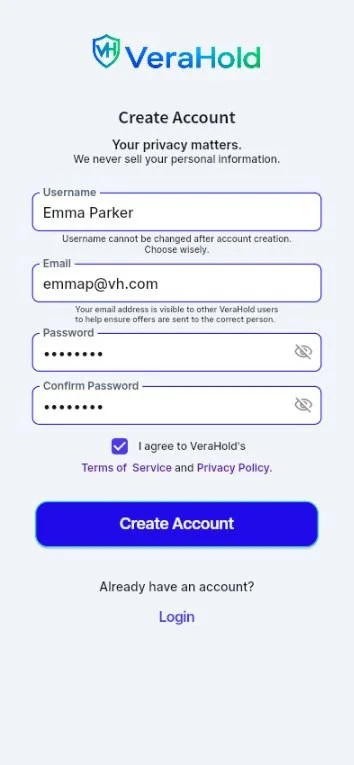
Create an account
To create your VeraHold account:
Enter a unique username and password. (Your username cannot be changed later.)
Enter your email address.
Create and confirm your password.
Read and accept the Terms of Service and Privacy policy.
Tap Create Account.
Check your email for your six-digit verification code.
Enter the verification code and hit verify code.
Log in
Enter the email address associated with your account.
Enter your password.
Tap Login.
If your credentials are correct, you will be taken to the Home Page.
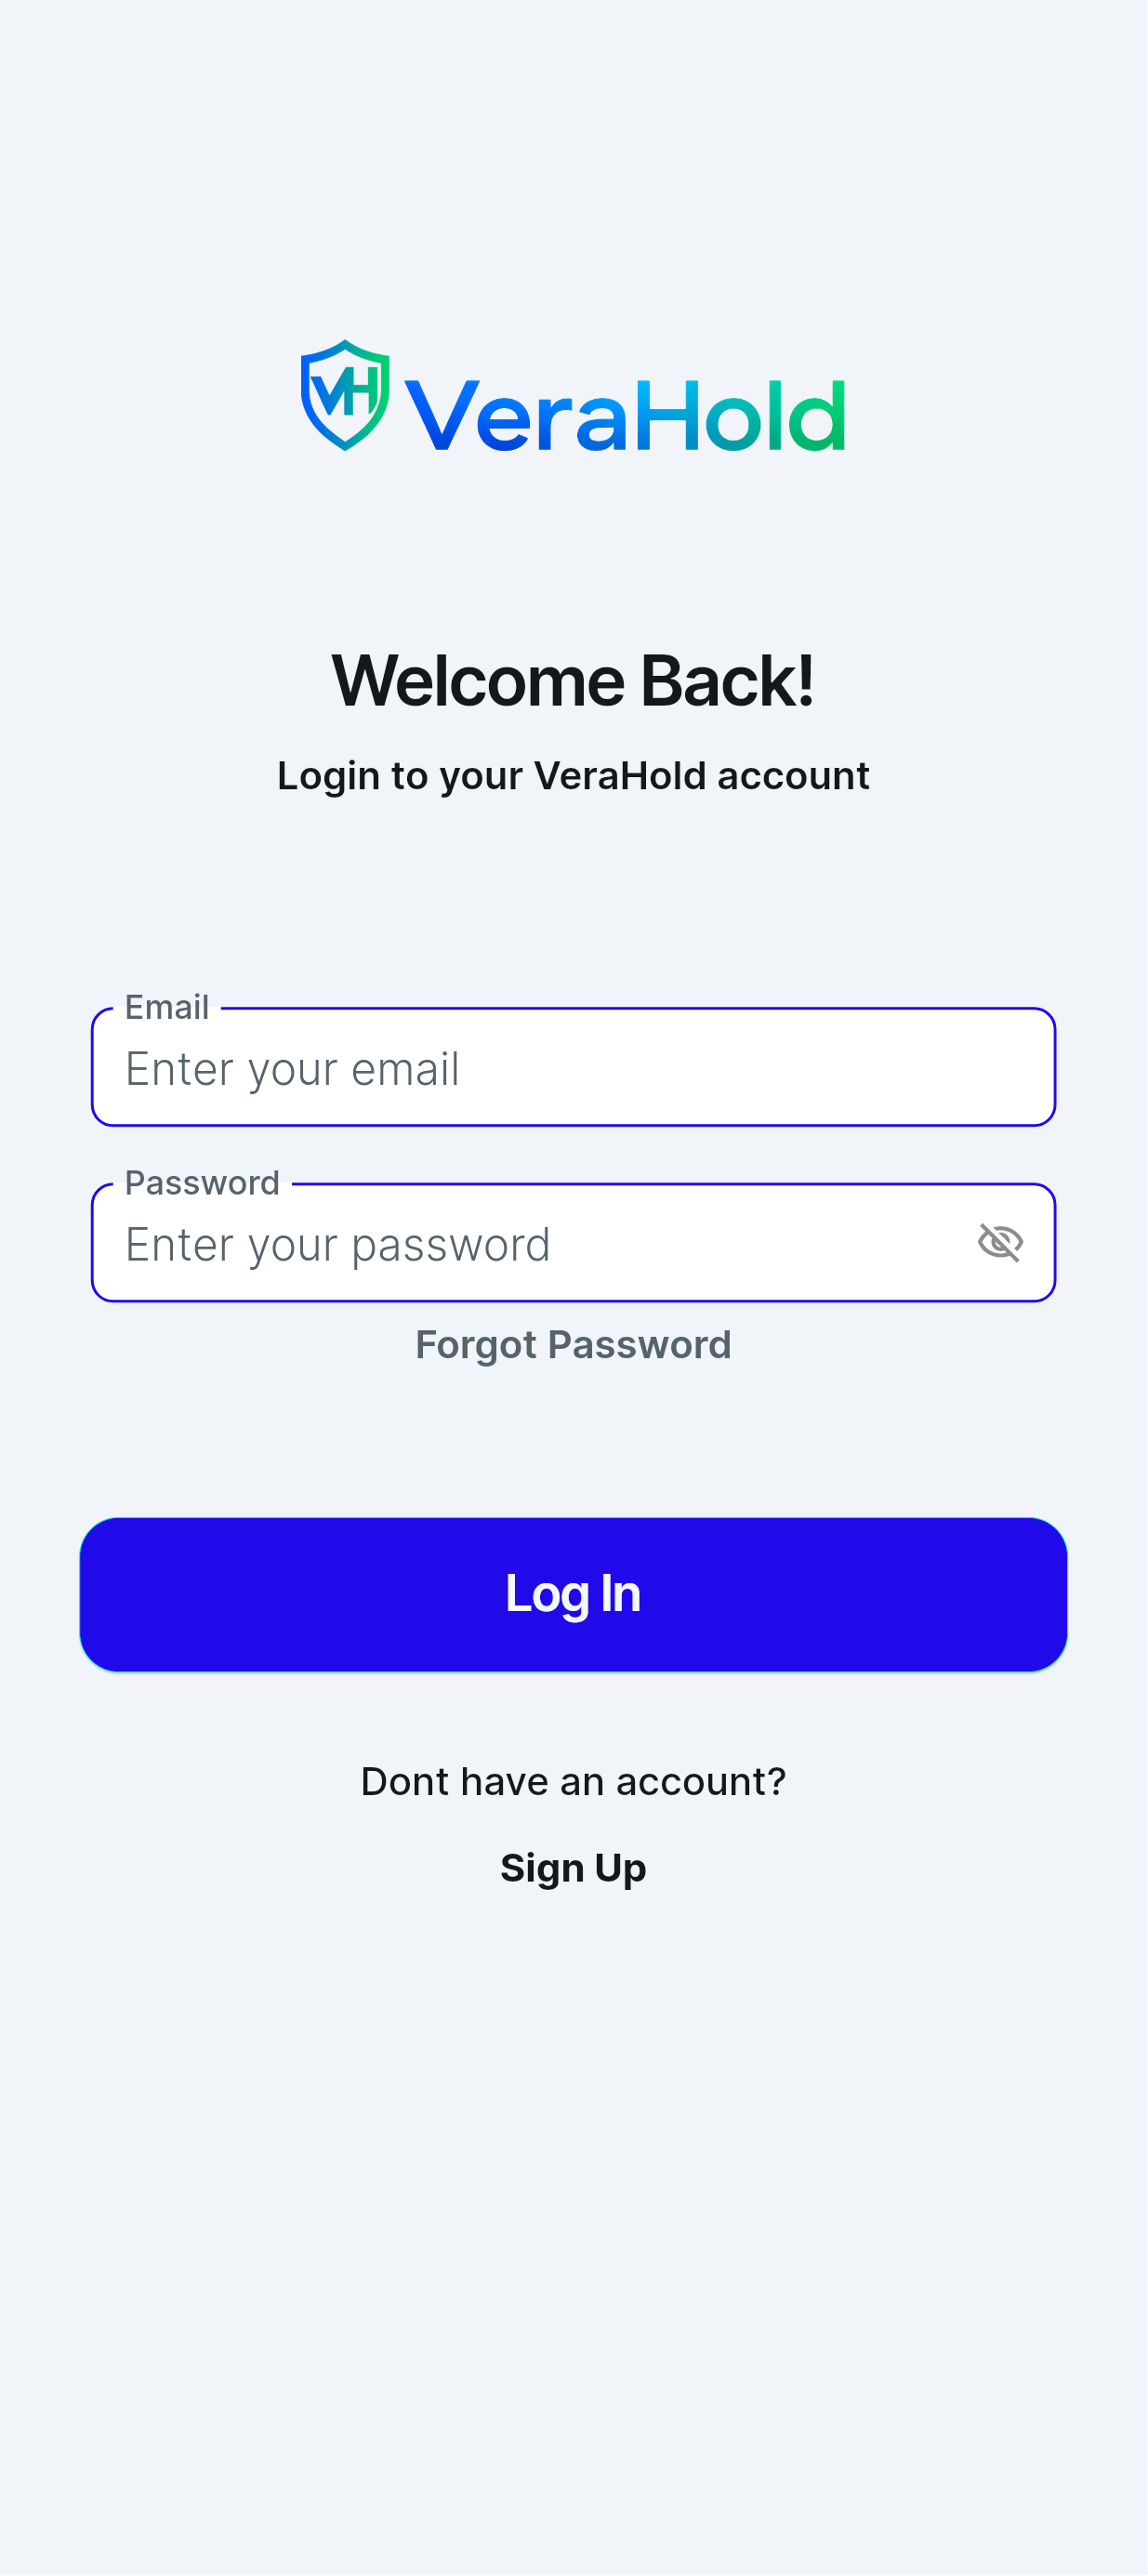
Note: If you’ve forgotten your password, tap Forgot Password to reset it.
Forgot Password
If you’ve forgotten your password, you can reset it using your email address.
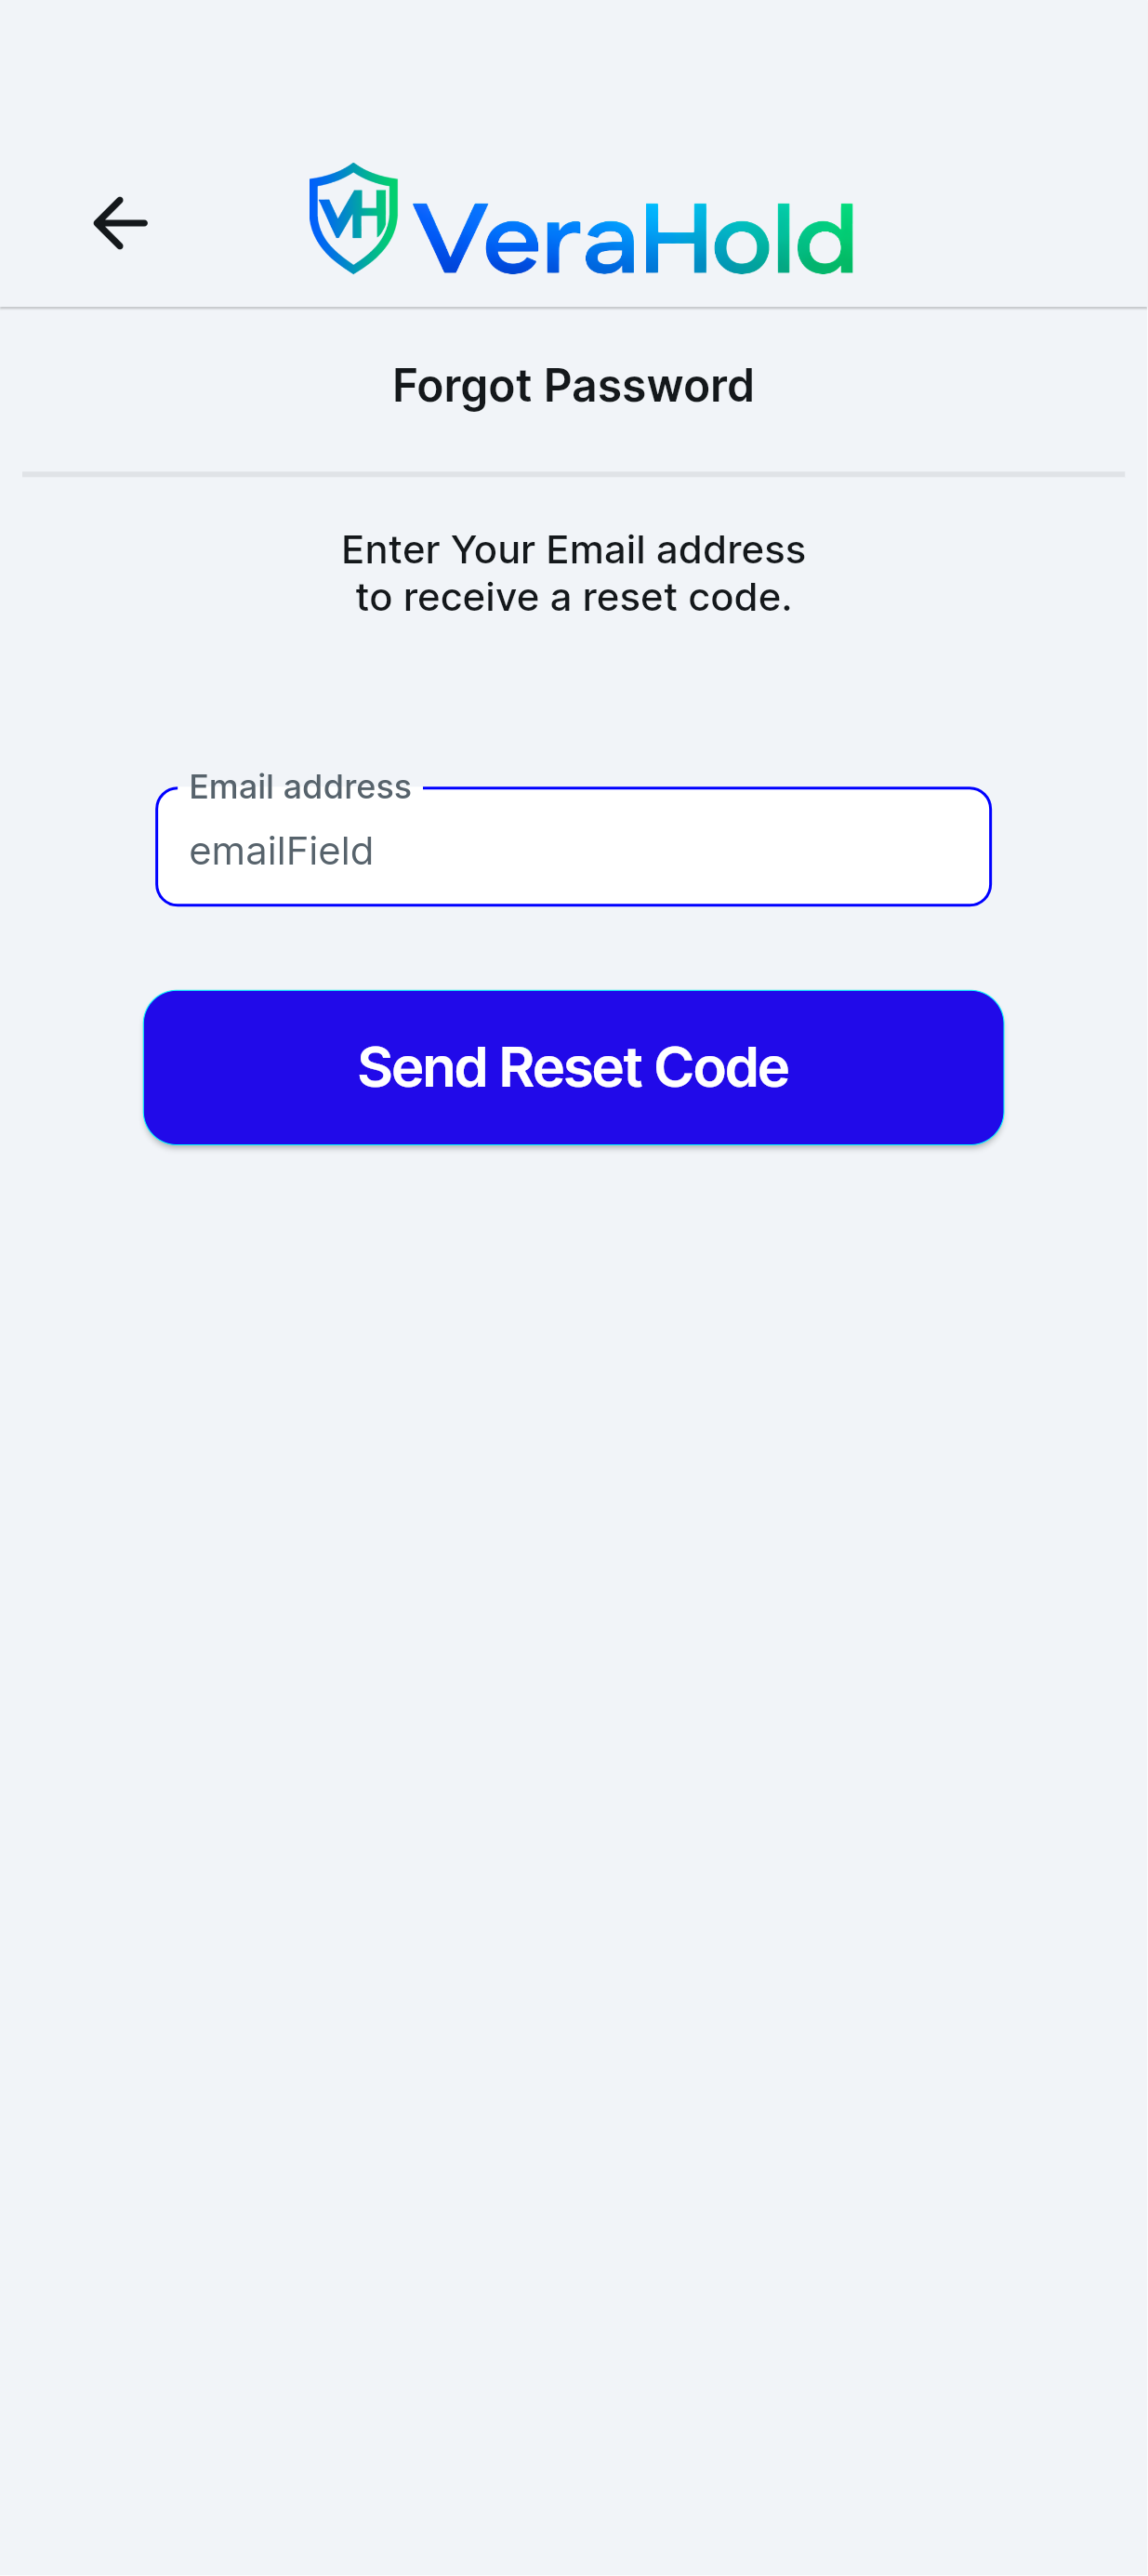
Tap Forgot Password on the login page.
Enter the email address associated with your Verahold account.
Tap Send Reset Code.
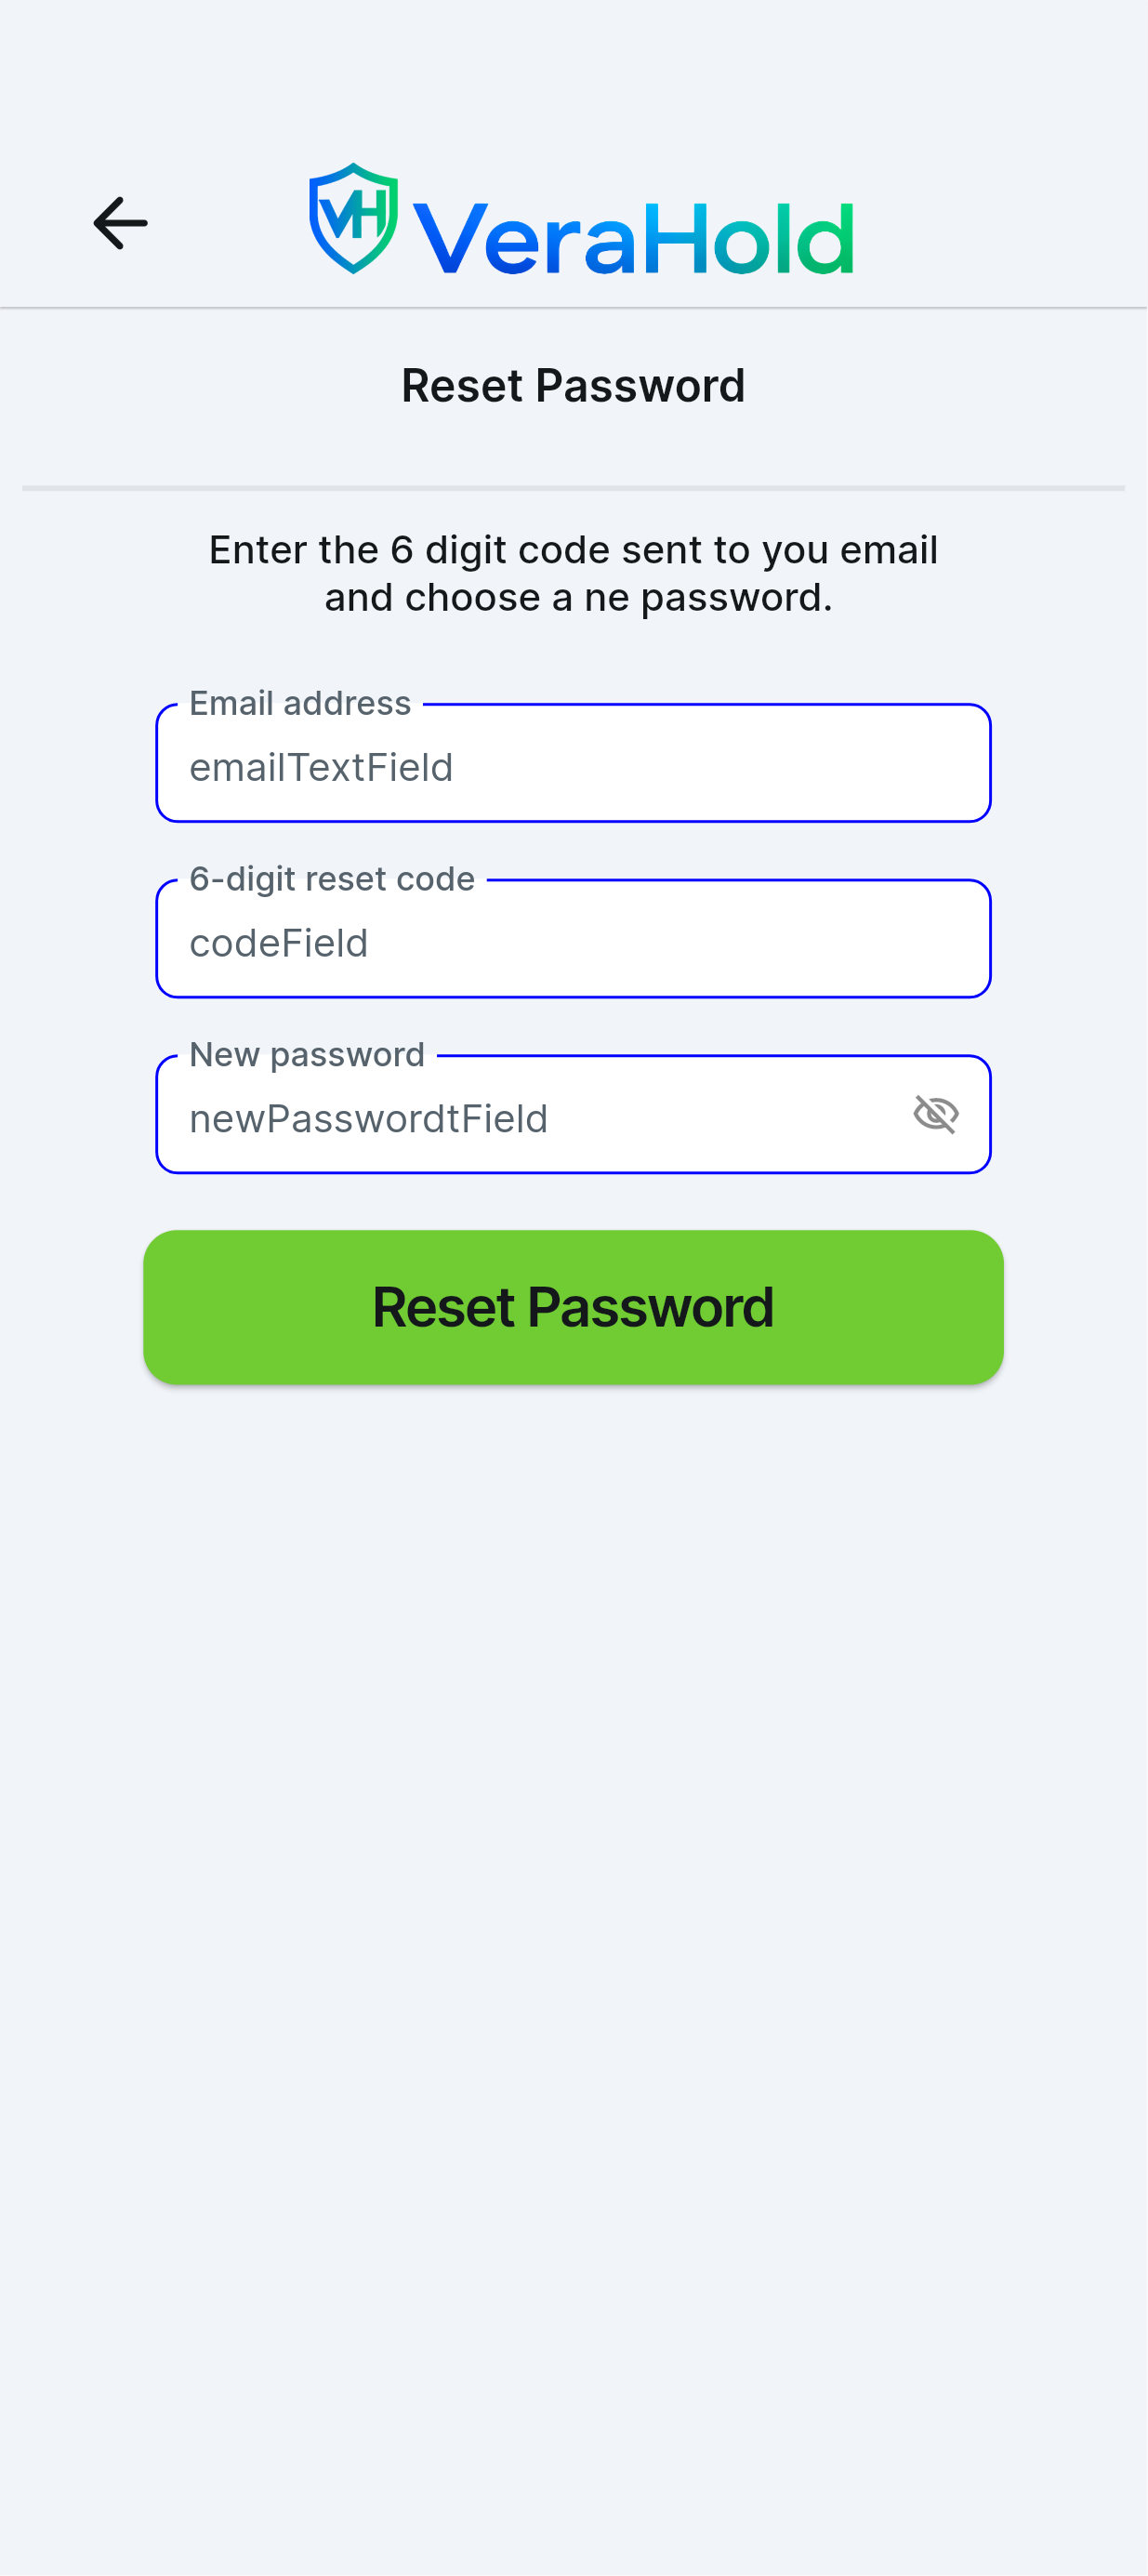
Check your email for your six-digit verification code.
Enter your email address, enter the code, and enter new password.
Tap Reset Password.
Return to the Login Page and sign in with your new password.

Home
The Home page is the first screen you'll see after signing in. From here, you can access VeraHold's main features.
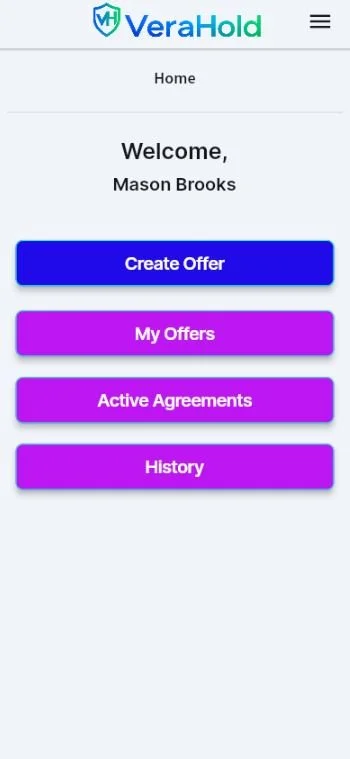
This is where you will find the main navigation.
Create Offer – Start a new VeraHold offer.
My Offers – View offers you have sent or offers sent to you.
Active Agreements – View your current agreements.
History – View completed, expired, canceled, and declined offers and completed or expired agreements.
Menu – Access your profile, payment methods, help, and app settings.

Menu
The Menu provides quick access to your account, payment methods, help resources, and other VeraHold features.
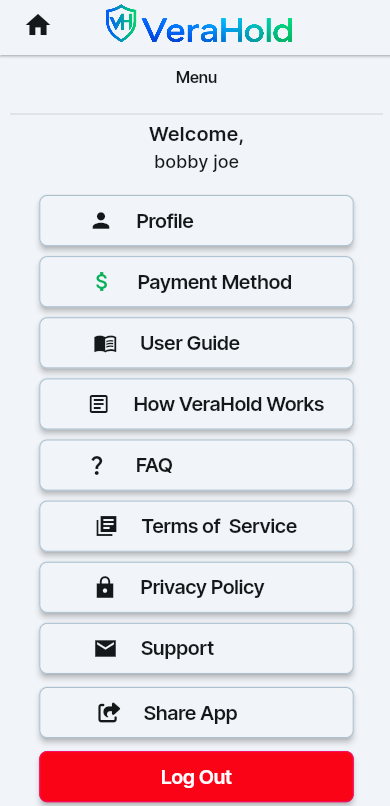
Menu Options
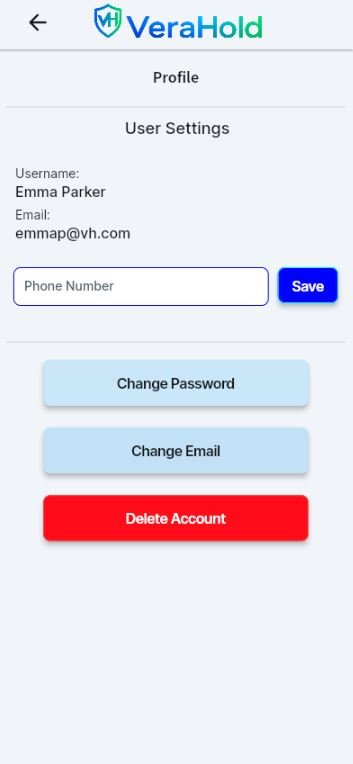
Profile – Manage your account information, including your email address, password, phone number, and account settings.
Payment Method – Add, update, or remove your payment method.
User Guide – Open the VeraHold User Guide.
How VeraHold Works – Learn how VeraHold works from start to finish.
FAQ – View answers to common questions.
Terms of Service – Read VeraHold's Terms of Service.
Privacy Policy – Read VeraHold's Privacy Policy.
Support – Contact VeraHold Support.
Share App – Share VeraHold with others.
Log Out – Sign out of your VeraHold account.
The following sections explain each of these features in more detail.

Profile Overview
Change Email
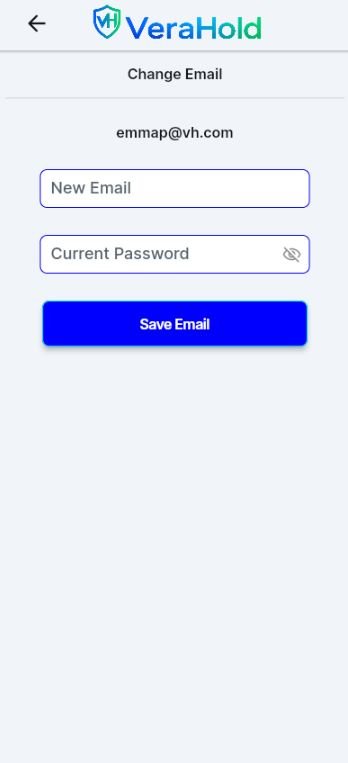
You can update your email address at any time from the Menu.
Open the Menu.
Tap Profile.
Tap Change Email.
Enter your new email address.
Confirm your new email address.
Enter your current password.
Tap Update Email.
Check your email for the verification code.
Enter the code and hit verify
If the update is successful, use your new email address the next time you log in.
Note: Your email address is used to sign in to VeraHold. Your email and username will be visible to other VeraHold users to help ensure offers are sent to the correct person.
CHANGE PASSWORD
Your password helps keep your VeraHold account secure. You can change it at any time from your Profile page.
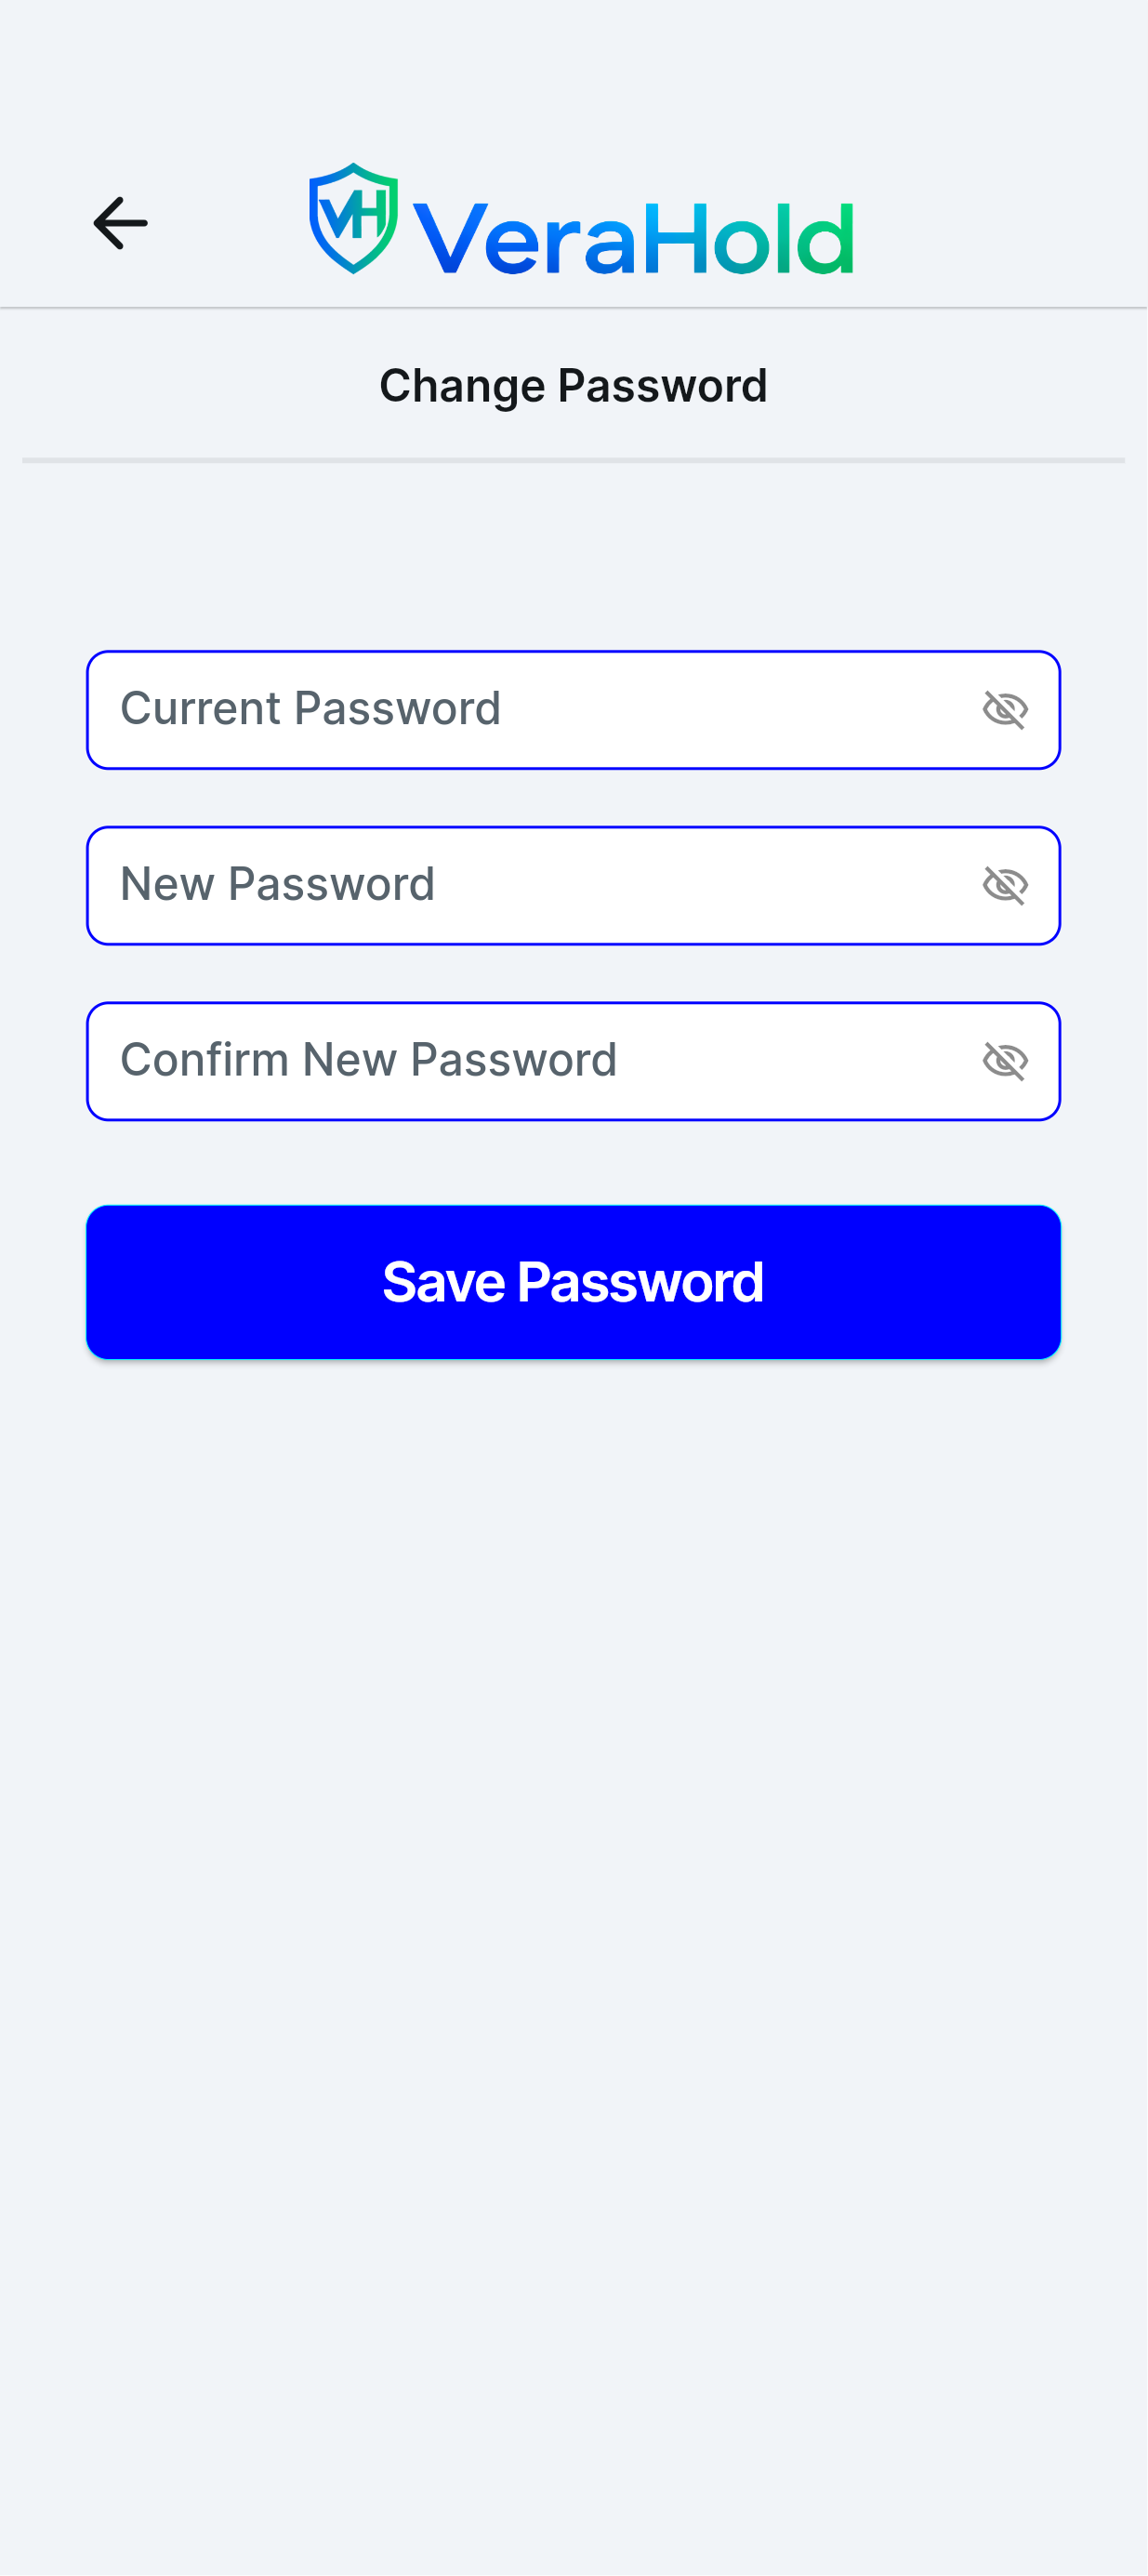
To change your password:
Open the Menu.
Tap Profile.
Tap Change Password.
Enter your current password.
Enter your new password.
Re-enter your new password to confirm.
Tap Save.
If your current password is correct and your new password meets the password requirements, your password will be updated immediately.
Note: If you've forgotten your current password, use the Forgot Password option on the Login screen instead of Change Password.
Phone number
To update your phone number:
Open the Menu.
Tap Profile.
Enter or update your phone number in the Phone Number field.
Tap Save.
Your changes will be saved immediately.
Note: To remove your phone number from your account, delete the number from the Phone Number field and tap Save.
Delete Account
You can permanently delete your VeraHold account at any time from your Profile page.
To delete your account:
Open the Menu.
Tap Profile.
Tap Delete Account.
Read the confirmation message carefully.
Confirm that you want to permanently delete your account.
Note: Account deletion cannot be undone. Once your account is deleted, you will no longer be able to sign in or access your VeraHold account.
Accounts with active agreements or pending offers cannot be deleted until those transactions have been completed, expired, declined, or canceled.

Payment Method
Before you can send or accept offers that require you to place an authorization hold, you must add a payment method to your VeraHold account.
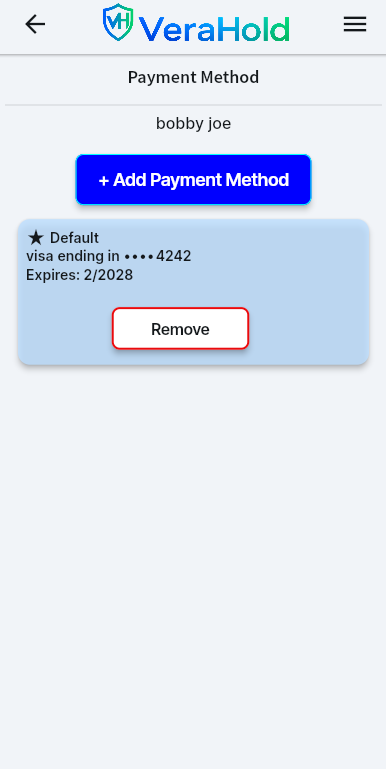
Add a Payment Method
Open the Menu.
Tap Payment Method.
Tap Add Payment Method.
Enter your payment information using Stripe's secure payment form.
Complete the verification process, if prompted.
When finished successfully, you will be returned to the Home Page.
Return to Payment Method and your payment method will appear on the Payment Method page.
Note: VeraHold does not store your full card number. Payment information is securely managed by Stripe.
Update Your Payment Method
Open the Menu.
Tap Payment Method.
Tap Remove Payment Method.
Tap Add Payment Method.
Complete the secure Stripe form.
If successful, your payment method will be added. When the process is complete, you will be returned to the Home Page. Go back to Payment Method to see the added payment method.
Remove Your Payment Method
Open the Menu.
Tap Payment Method.
Tap Remove Payment Method.
Confirm that you want to remove your payment method.
Your payment method is removed.
Note: If you have active agreements or pending transactions that require your payment method, you may need to complete or cancel those transactions before removing it.
Set a Default Payment Method
If you have more than one payment method saved, tap Set Default on the card you want to use as your default payment method.
Note: A payment method must be set as default in order to accept a Requesting Hold offer or to send a Placing Hold offer.

Select User
The Select User feature allows you to find other VeraHold users before sending them an offer.
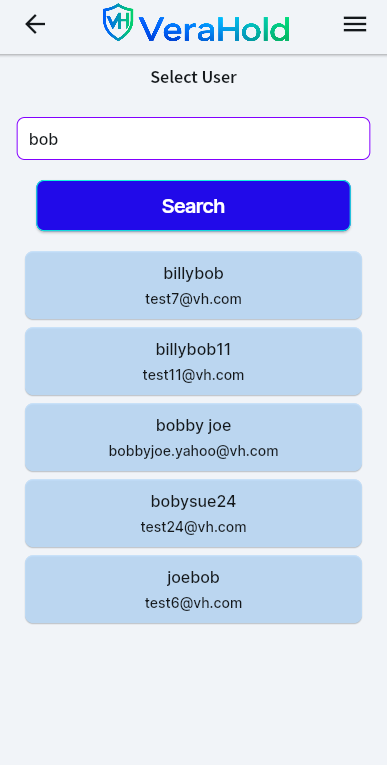
Select a User
From the Home page, tap Create Offer.
On the Select User page, enter the person's username in the search field.
Matching users will appear below the search field as you type.
Verify the displayed email address belongs to the correct person.
Tap the user to continue to the Create Offer page.
Note: You can only search by username. The other person must have a VeraHold account before you can send them an offer.
If You Can't Find a User
If the person you're looking for does not appear in the search results:
Verify the spelling of their username.
Confirm that they have created a VeraHold account.
Ask them to provide their correct VeraHold username if needed.
Note: You only need to enter part of a username to begin searching. when you hit search, up to five matching users will be displayed. If you don't see the person you're looking for, try entering more of their username.

Create Offer
The Create Offer page lets you create the details of a new VeraHold offer.
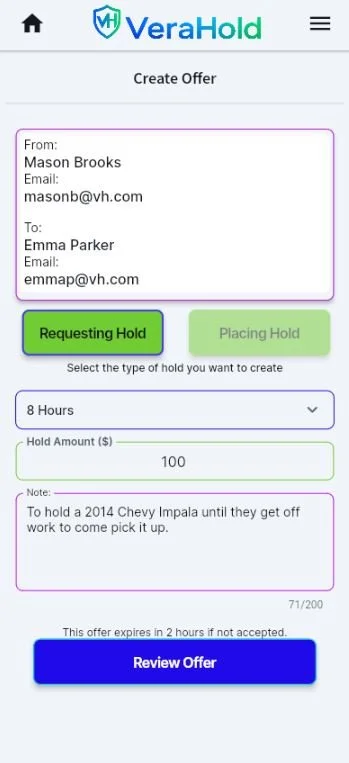
Create an Offer
Verify the selected user.
Choose whether you are Placing Hold or Requesting Hold.
Enter the hold amount.
Select the agreement duration.
Add an optional note.
Tap Review Offer.
Placing Hold – You will provide the authorization hold.
Requesting Hold – The other user will provide the authorization hold.
Hold Amount – The amount to be authorized. Enter an amount between $25 and $950.
Duration – How long the agreement remains active after it is accepted. If the agreement is not completed before the selected duration, it will expire automatically.
Note – Optional information for the other user or for your records.
Review & Send
Review Offer to see that all information is correct. When you're ready, tap Send Offer. Once the offer is sent, it will appear in My Offers where you can view its details and status.
Note: Offers expire automatically if they are not accepted within 2 hours.
Review Offer - Placing Hold
When you review and send an offer placing hold, this includes your confirmation to authorize the hold amount and service fee.
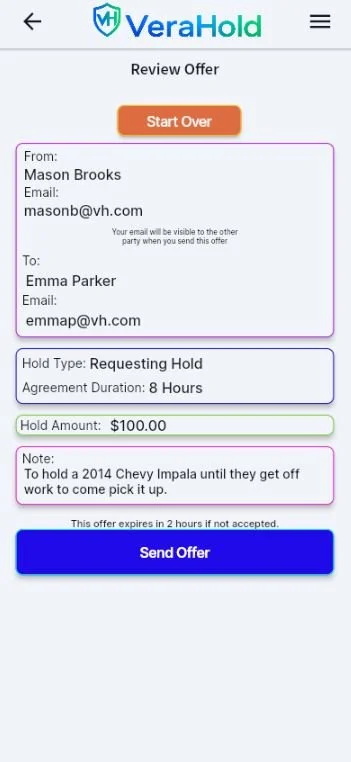
Requesting Hold
When you are requesting the authorization hold, the review shows only the requested hold amount.

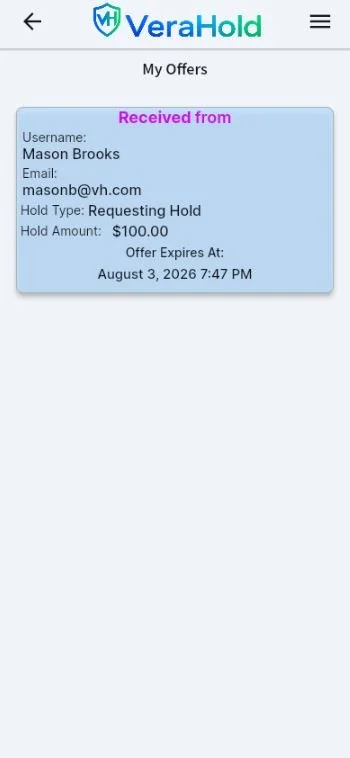
My Offers
View offers you've Sent or Received.
Tap any offer to view its details and available actions.
Pending offers remain here until accepted, declined, canceled, or expired.
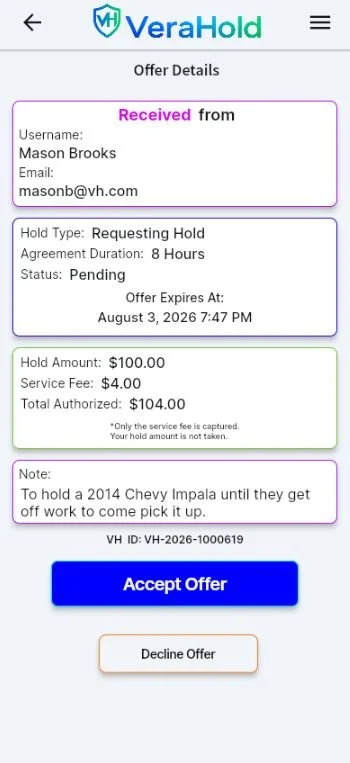
Offer Details-Received
Review the Offer Details.
Tap Accept to create an agreement.
Tap Decline to reject the offer.
Tap Report to flag the Offer if it violates our Terms.
Tap Block User to stop this user from sending you future Offers.
Once accepted, the offer moves to Active Agreements.
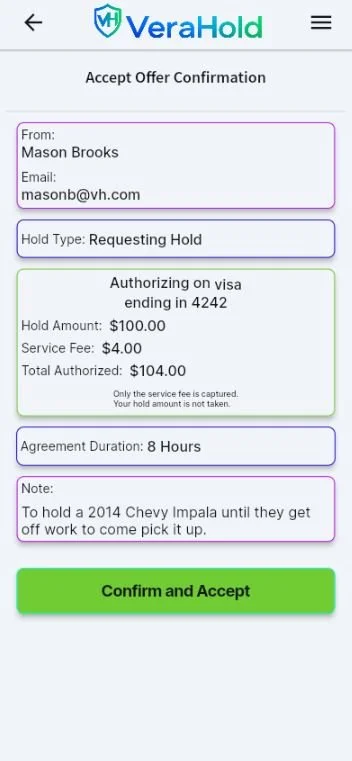
Review Offer – Requesting Hold
When you review and accept a requesting hold offer, you are placing the authorization hold. Your acceptance includes your confirmation to authorize the hold amount and service fee.
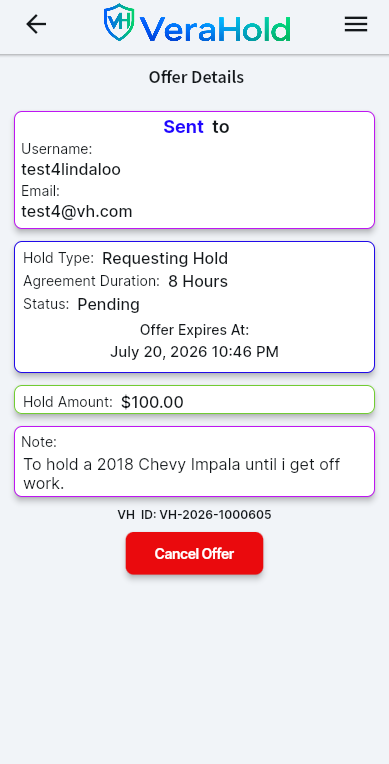
Offer Details Sent
Review the offer details.
You may cancel the offer any time before it is accepted.
If no action is taken, the offer expires automatically after 2 hours.

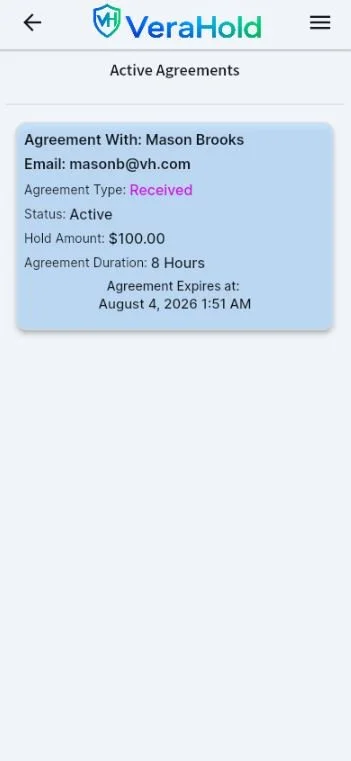
Active Agreements
The Active Agreements page displays all agreements that are currently in progress.
Tap an agreement to view its details and available actions.
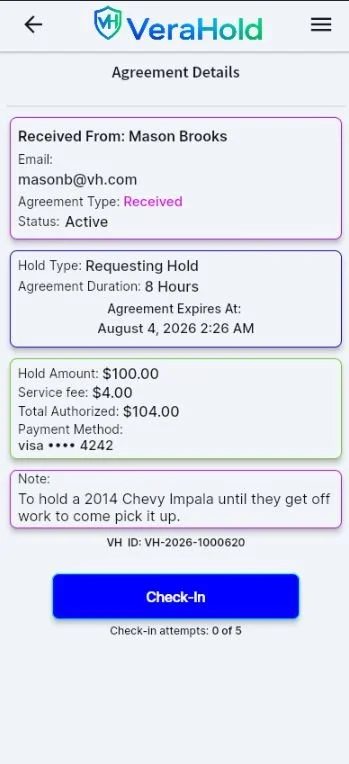
Agreement Details
Review the agreement details, including the hold amount, duration, expiration time, and any note attached to the agreement.
When you are with the other person and ready to complete the transaction, tap Check In.
Note: Only the user who placed the authorization hold can check in.
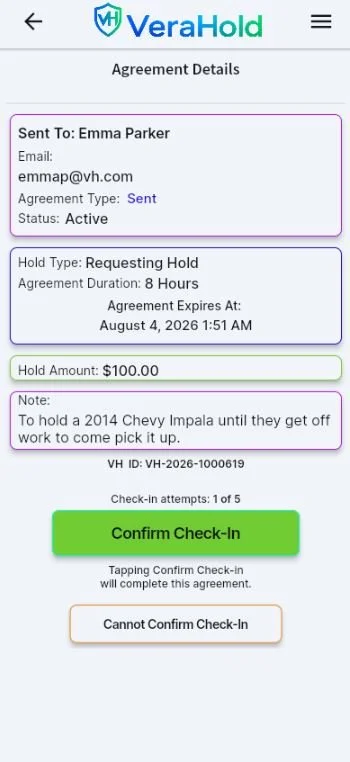
Complete Agreement
After the user who placed the authorization hold checks in, the other user can review the agreement and…
Confirm Check-In – Tap if the user who checked in is present with you.
Cannot Confirm Check-In – Tap if the user who checked in is not present.
Once both users have completed these steps:
The agreement is marked Completed.
Note: Once the other user confirms the check-in, VeraHold completes the agreement by releasing the authorization hold and charging the service fee. If the agreement is not completed before the selected duration expires, it will expire automatically.

Agreement Completed
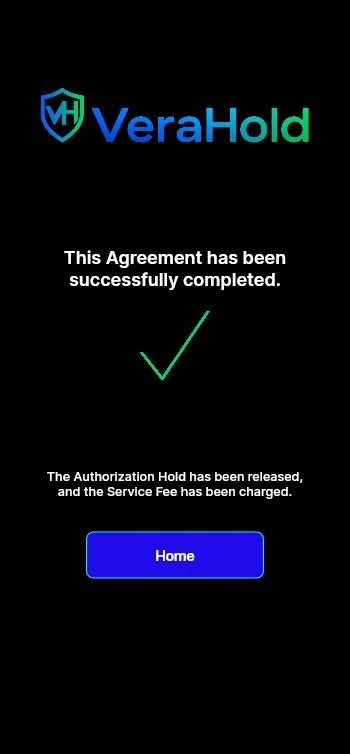
Once both parties successfully complete the Agreement, VeraHold displays a confirmation screen.
This screen confirms that the Agreement has been successfully completed, the Authorization Hold has been released, and the Service Fee has been charged.
You will automatically be returned to the Home page. The completed Agreement can also be found later under History → Agreements.

History
The History page keeps a record of your completed and expired VeraHold activity.
Use the tabs at the top of the page to switch between:
Offer History
Agreement History
Tap any item to view its complete details.
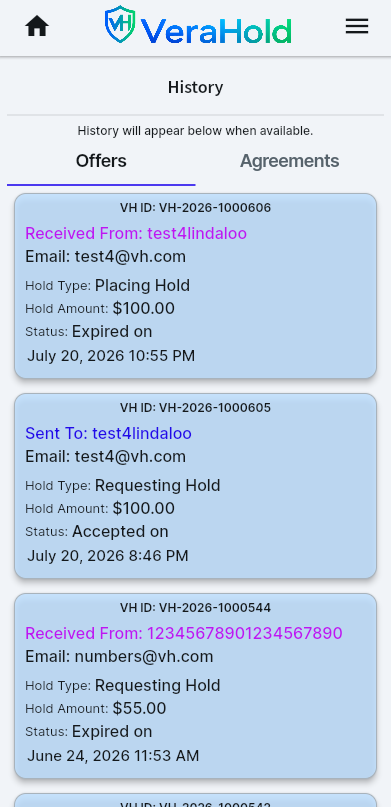
Offer History
Offer History contains offers that are no longer active.
This includes:
Accepted offers
Declined offers
Cancelled offers
Expired offers
Each history item displays summary information such as:
Other user's name
Hold amount
Hold type
Status
Date
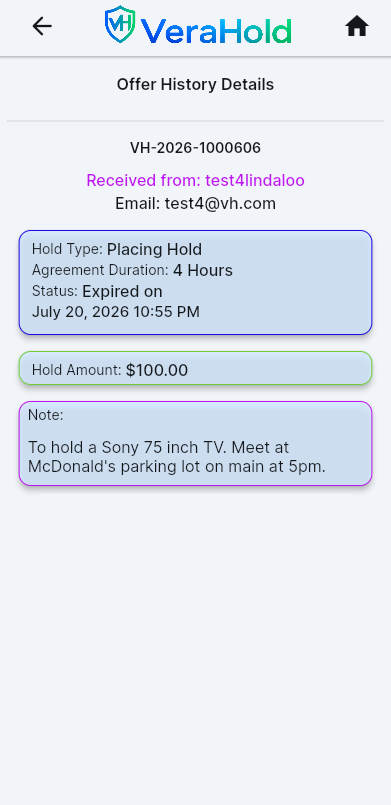
Tap any offer to view its details based on your role in the offer.
Agreement History
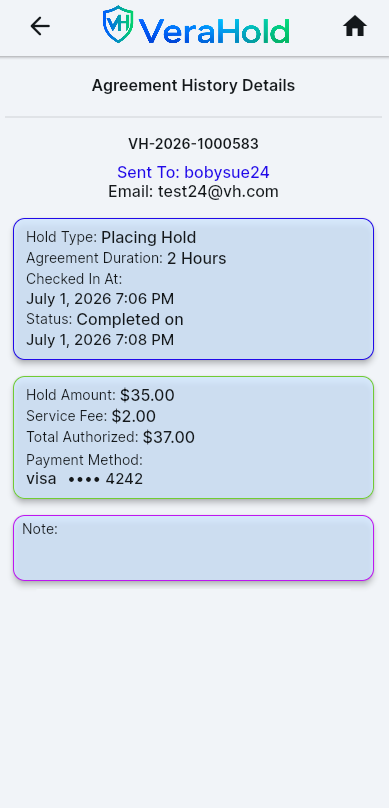
Agreement History contains agreements that have ended.
This includes:
Completed agreements
Expired agreements
Each agreement displays summary information including:
Other user's name
Hold amount
Hold type
Final status
Date
Tap any agreement to view its details, including transaction information, notes, and the final agreement status.
History Records
History allows you to review past offers and agreements for your reference.